
After I finished creating my patterns I scanned all of them into the computer. I opened the grapefruit pattern on Photoshop and started to add colour to the drawings.


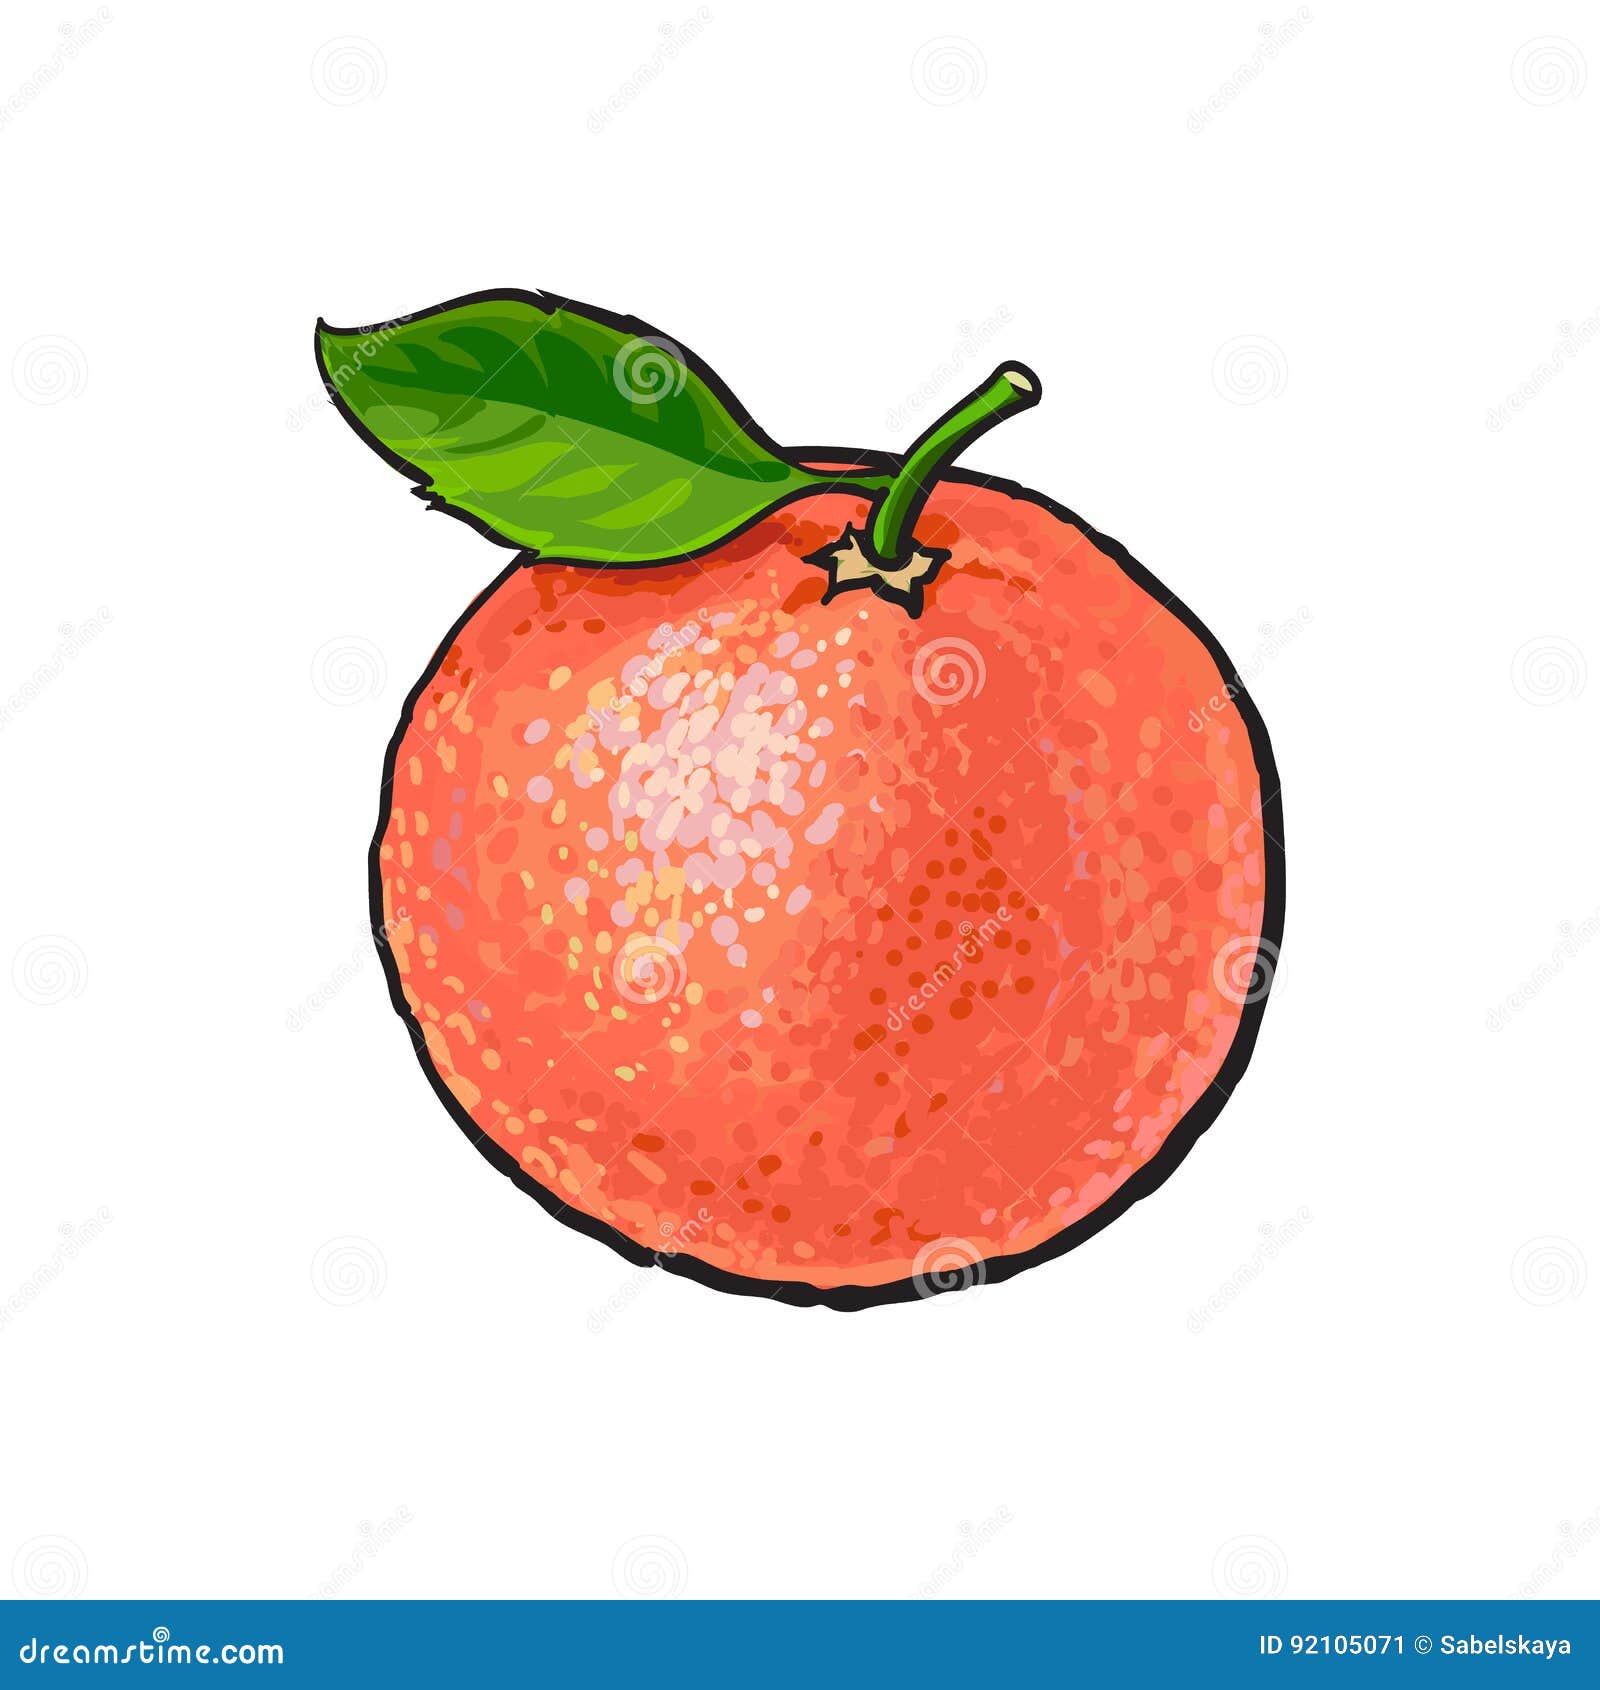
I looked at this image to see what type of brush strokes I will have to use in order to make the texture of the grapefruit more visible. What I have noticed is that the artist of this piece used different shades of the colour orange. The artist also painted in a pointillism style, therefore the texture of the orange was seen.

The image above shows the type of brushes I used to create the grapefruit. I had to bounce from one type of brush to the other to make the grapefruit look as realistic as possible. For example, I started out with "Kyle Ultimate Inking Thick 'n' Thin" brush to paint in the base, then I used the other brushes in the image above to layer the painting to create the grapefruit. I started off with the heavier brushes then moved on to the lighter brushes to create a contrast in my painting of the grapefruit on Photoshop.

After I coloured in all the grapefruits with a paintbrush tool on Wacom platform, I created a repeated pattern. I created it by copying and pasting the same pattern and joining its ends together.

Afterwards, I used a magic wand tool to cut out the white background out of my pattern, so I could edit in the background colour that would compliment my pattern.
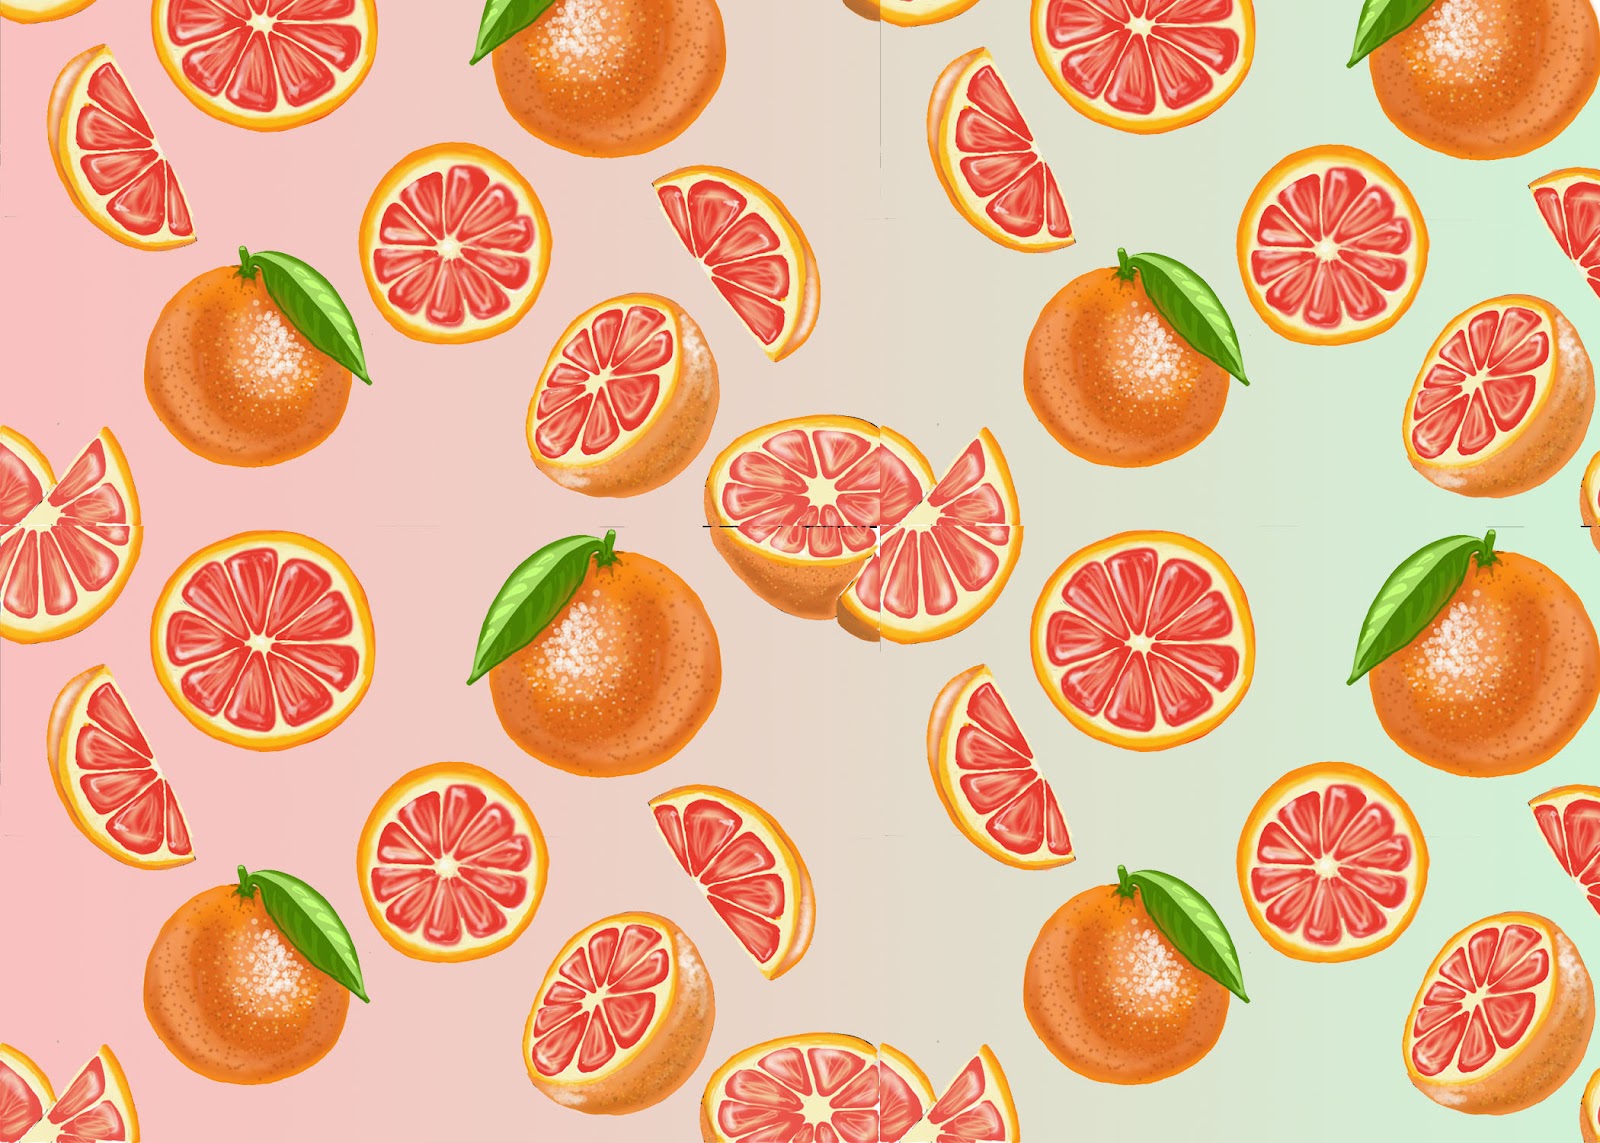
I used created a new layer and used a gradient tool to add the background colours as an experiment to see how it would look like. However, I might not be sticking with these colours because I want to do some extra research on what colours I should use in order to give out an exotic feel.
Reflection:
It was difficult for me to colour in the drawings that were on the edges of the page because the other part of the drawing was on the other side of the page. Therefore I had to make assumptions of how to colour in the drawing in order that it would look out of shape. In the middle of the last image, you can see the difference between the four sides of the drawing, when you focus on it you can see the parts do not stick together as well. For my next design, I will just colour in the drawings after I have connected them in order to make sure the drawings connect well.
No comments:
Post a Comment